Easy step by step tutorial to make a girl skirt
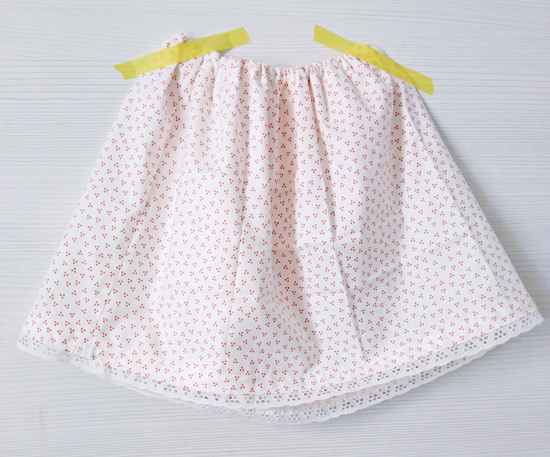
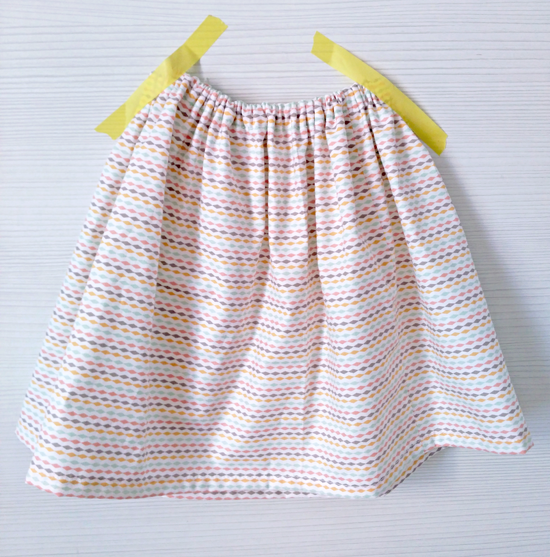
I want to share with you the step by step to make this skirt .
Aside from being entertaining, it is very rewarding to do things with your hands.
Material needed to make the handmade skirt:
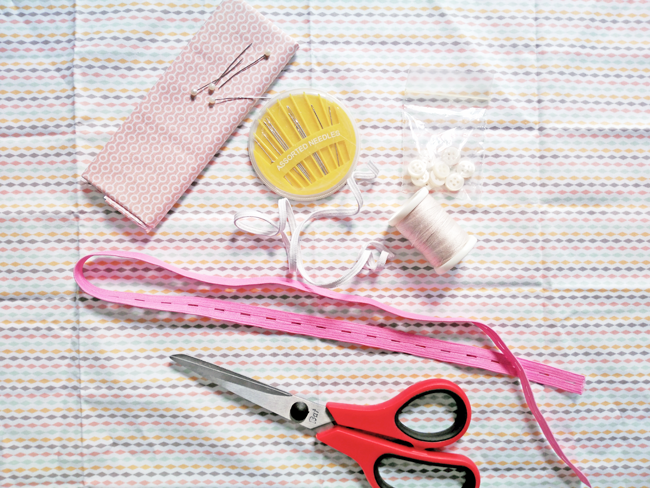
Cotton fabric
: its width must be twice the measurement of the girl's waist. For a 5/6 year old girl, for example, you would need a fabric with a width of 115/120 cm. I have used two pieces of fat quarter (45 x 55 cm) so the measurement I had was 110 cm. For the length: This skirt stayed at 30cm, so counting on the seams + space for the rubber, you will need a total height of 34 cm. You can also take one of the skirts it already has and check the height. You add 4 cm and that's it.
Step by step to make the skirt:
1 - Before starting: I recommend washing the fabric since, sometimes, it usually shrinks a little.
2 - It is also recommended to pass a zig zag seam over the entire height of the fabric to prevent it from unraveling. It happened to me in the first skirt, but I did it in the second.
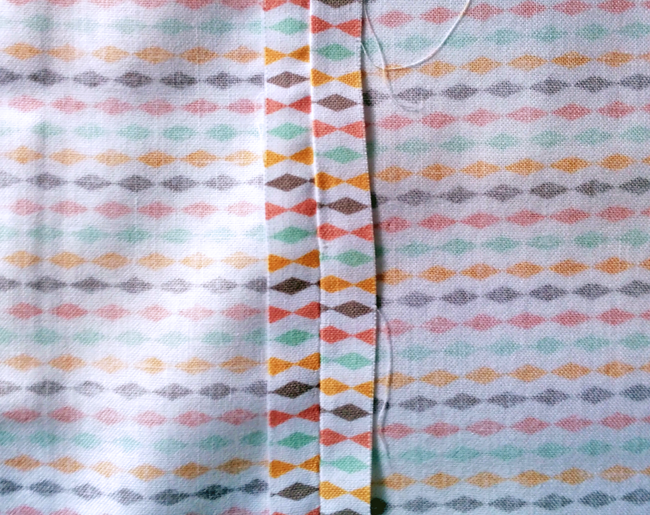
3 - If you have a single rectangle of fabric: fold it in half , face to face, and join the two shorter pieces together. You must sew this part to join them and make a tube.
If you have 2 pieces of fabric: you put it face to face and sew the shorter sides of both sides.

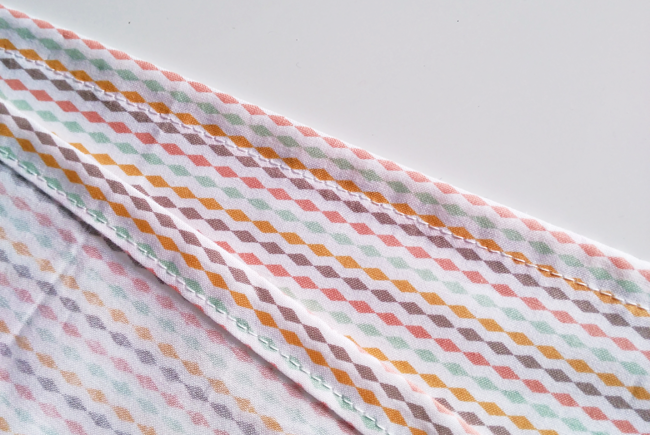
4 - Open the seam and iron it like this:
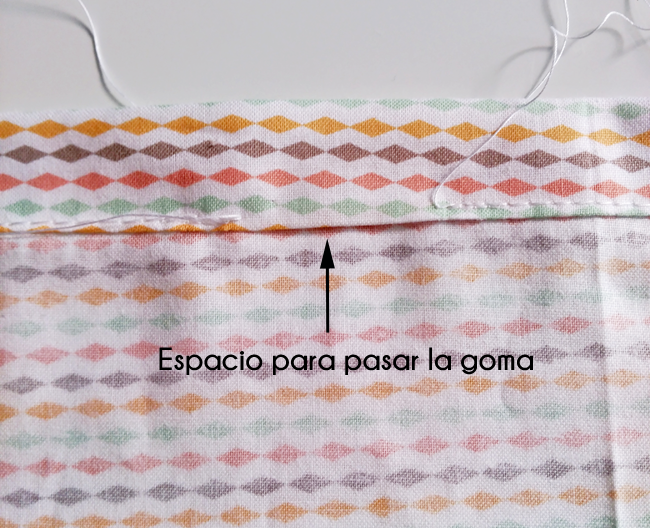
5 - Now, we are going to take care of the upper part of the skirt, where the rubber passes.
I first make a small hem of about 7 mm and then fold it over again until I have a total hem of 1.5 cm .
It is best to iron the fabric each time you make the hem so that it takes better shape.
Make sure you can run the rubber through this space.
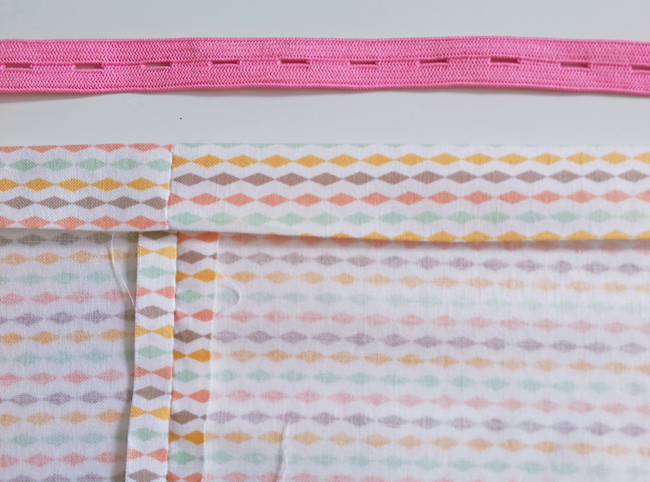
6 - Put the pins to keep the hem and sew along the entire fabric about 3 mm from the edge leaving a space of 4 cm to pass the rubber.
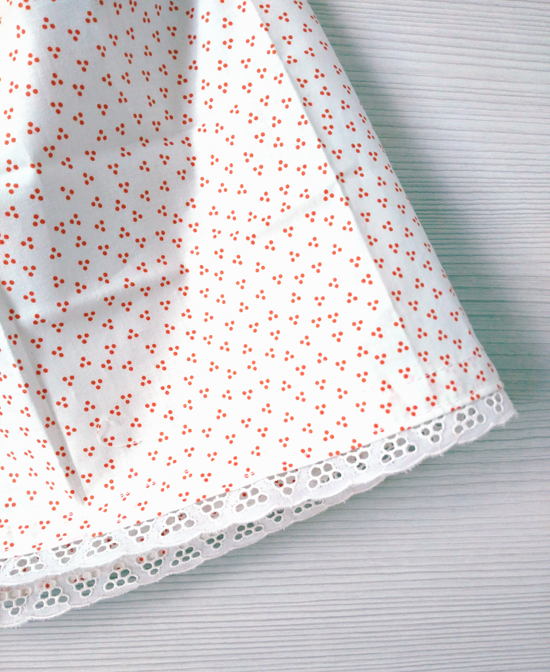
7 - For the bottom of the skirt , we do the same: fold a little and fold over 1 cm again . Pass the iron to better fix the hem, put the pins and sew everything around:
You can also use a bias or a lace . I show you how it was in the second skirt:
8 - And to finish: take a safety pin , hook it to the rubber and pass it around the waist. Stretch until desired waist width is obtained. Tie a knot or sew the elastic.
If you use a rubber with grommets . Very useful for younger girls. You can sew a button on it and adjust the size according to how the girl grows.
Once the rubber is in place, sew the 4cm space you left for the opening . If you have used a rubber with eyelets, you can leave it open.
And end!
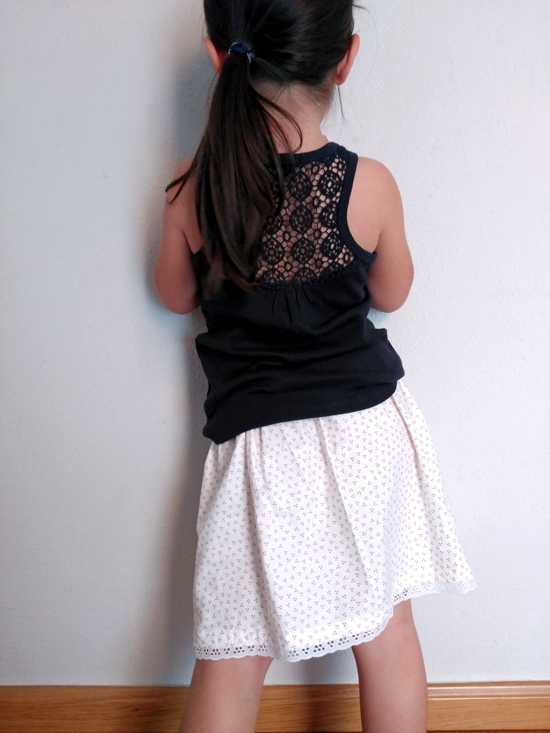
This is how the two skirts were:

I hope you liked the tutorial and it is easy to understand.
If you like to sew and create different things , go ahead and make this skirt. You will see how entertaining it is and how happy your daughter will be.
If you have questions , leave me a comment just below the entry .
-

Why Hand-Quilted Bedspreads Take Weeks, Not Minutes, to Make
June 19th, 2026 -
 June 17th, 2026
 -
 June 17th, 2026
 -
 June 16th, 2026