Materials
- Bias tape.
- Pins.
- Sewing machine.
- Scissors.
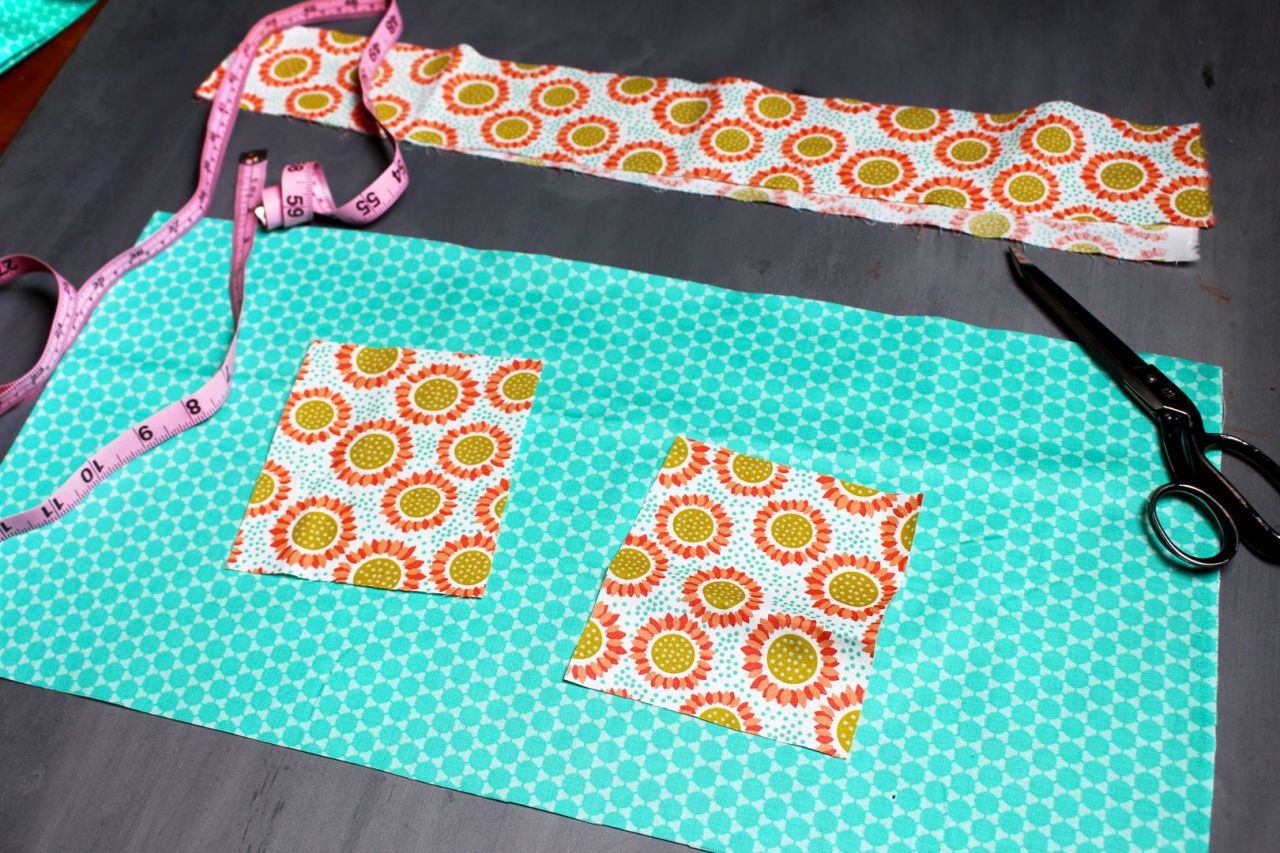
- Apron fabrics: You can choose the fabric you like the most and receive it from 1 meter anywhere in the world .
Ends In
00d :
00h :
00m :
00s
TAKEOFF10
use code TAKEOFF10 at checkout
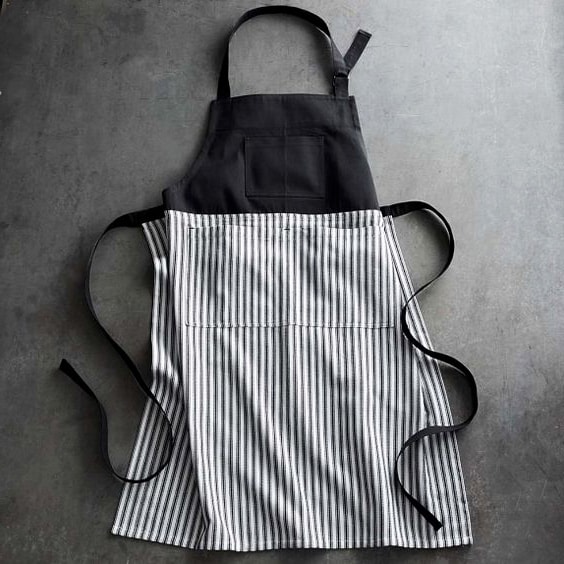
HOW TO MAKE A FABRIC APRON
For those of us who are not practical with the sewing machine, doing some sewing work may seem complicated, but I assure you that this is so simple that you will be surprised. Today we will show you one of our fabric crafts: a very easy apron that will take you less than 10 minutes of time, and very little sewing.
HOW TO MAKE A FABRIC APRON
Middle level / Clothing
Lets Begin
1- Draw the pattern of the apron.
First of all, draw on the fabric the shape and measurements of the apron pattern that we show you here below.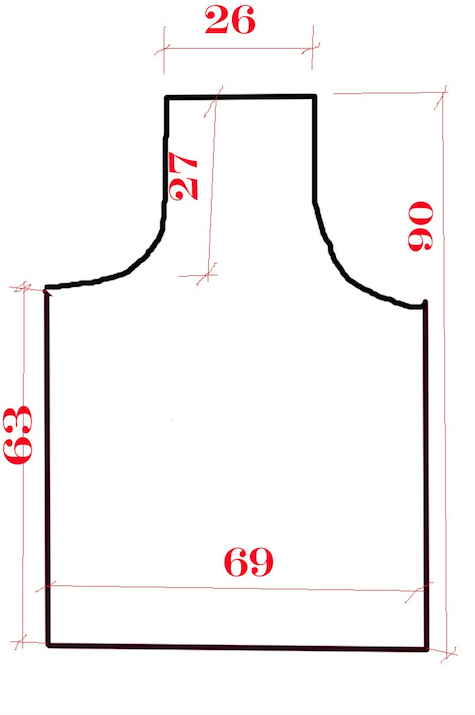
2- Cut the fabric.
Once you have marked the pattern of the apron on the fabric, we added 2 centimeters of margin on the sides, 4 centimeters on the bottom and 4.5 centimeters of margin on the top. Lastly, cut the fabric.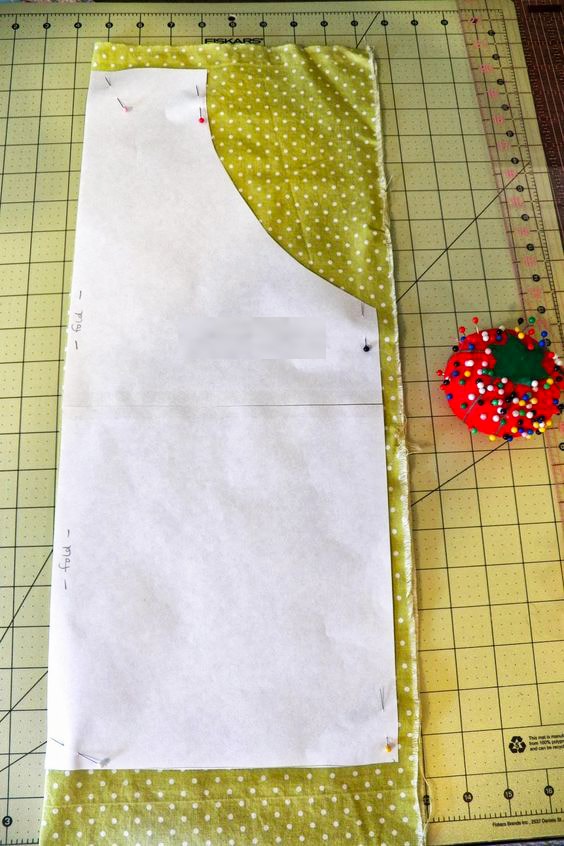
3- Sew the margins on the side of the apron.
Once the fabric is cut, we sew the margins on the sides so that the fabric does not fray. We advise that the hem margin be 2 centimeters.
4- Sew the bottom of the apron.
At the bottom fold the fabric about two centimeters to make the hem. We have stitched the hem with a straight stitch.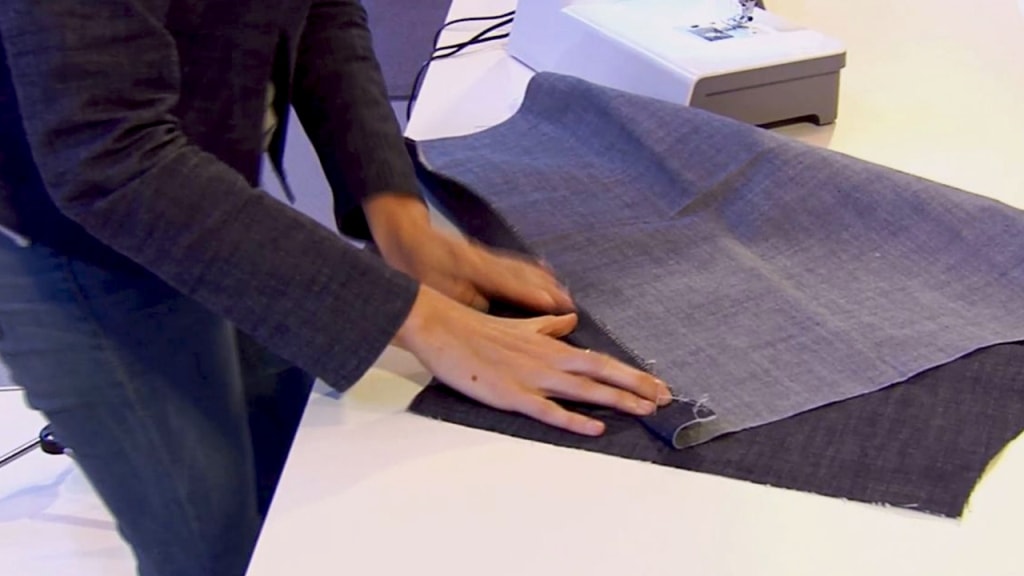
5- Prepare the bias tape.
The bias tape is placed behind the neck, it is the one that will hold the apron so that it does not fall. Place it behind the neck and measure more or less the height at which you would like to have the chest of the apron.
6- Mark the measurements of the bias tape.
With pins mark the extent to which you are going to place the bias tape.
7- Sew the bias tape to the apron.
Machine sew the edges of the apron with bias tape. Finish off the edges so that the seam does not open.
8- We have sewn the bias tape on the top edges of the apron.
we have sewed the bias tape on the top edges of the apron. This will give it a different finish and help keep it from fraying.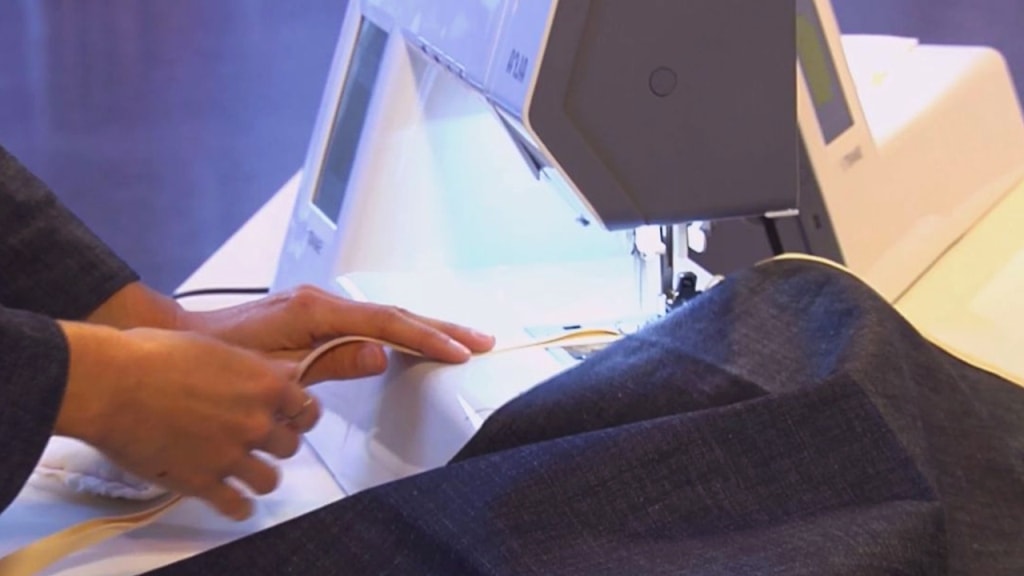
9- Make the strips for the apron.
With the excess of bias tape you will make the straps that will tie the apron to your waist. We advise you to take 50 cm for a strip.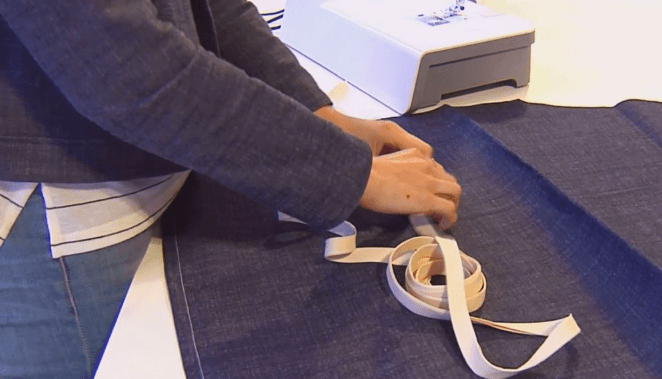
10- Sew you throw them to the apron.
Sew the bias straps at the ends of the waist that will act as a belt to tie the apron from behind.
11- Iron the apron.
Once finished, we advise you to iron the apron so that it is more verbose. Ready!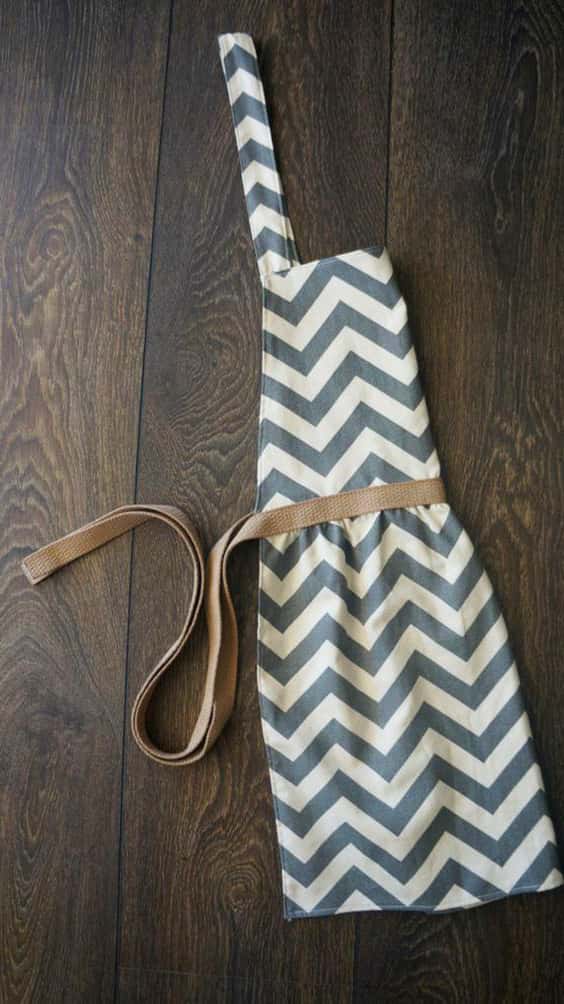
Ready! It will have taken you longer to read this tutorial than to make the kitchen apron. With about € 3 per apron and 5 or 10 minutes of time you can make this craft with fabric for yourself, to give away, or using smaller cloths, for your children, who will run to play with their toy kitchens .
Drop Us a Query
Recent Post
-
 July 24th, 2026
 -
 July 22nd, 2026
 -
 July 22nd, 2026

